Free Crochet Ear Warmer Headband Pattern
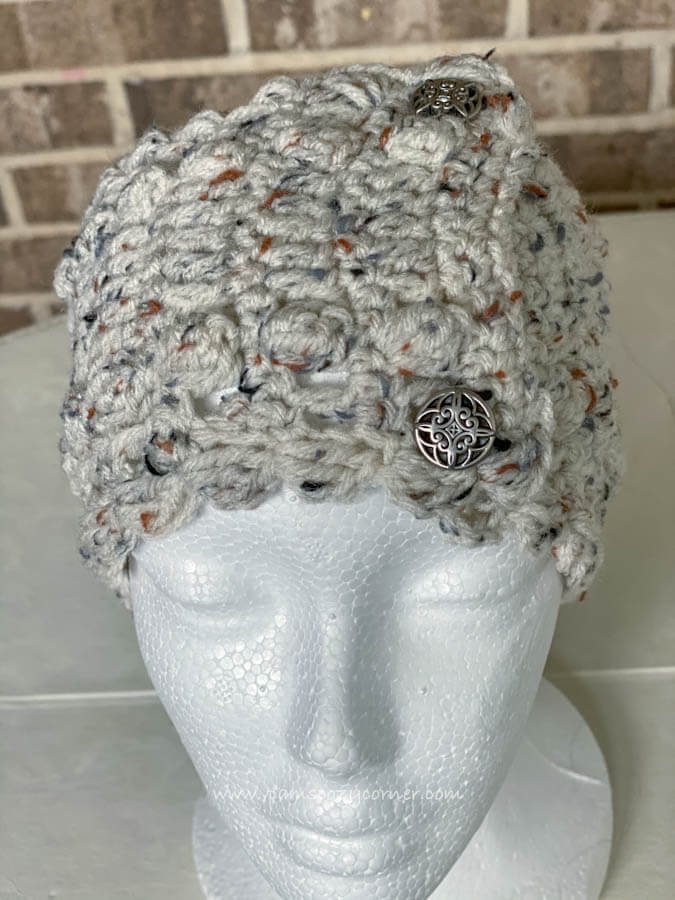
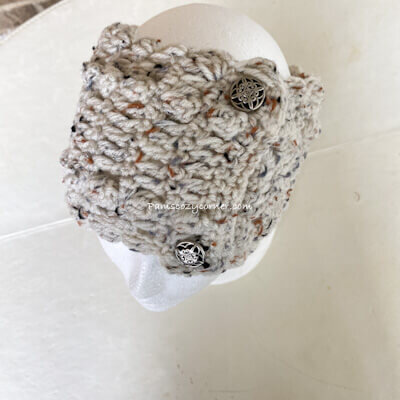
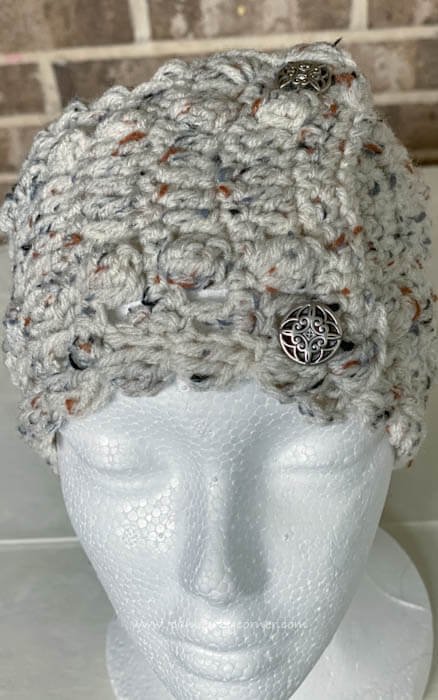
Looking for a simple and easy crochet headband pattern that you can make in an afternoon? If yes, then you just found one. This is a quick and easy fashionable crochet ear warmer headband with buttons closure that will keep your ears warm during those cold winter days.
The pattern itself is easy to follow and mainly uses basic stitches of single crochet, double crochet, and chains, except for a puff stitch that after you work out a few you will not need the pattern.
If you are like me you most likely have several head wraps. I do not like the cold, leave alone cold ears. That is why when fall nears, I start making sure I have my headbands ready. I like to design hair bands that are simple and easy, something I can make in an afternoon and as a last-minute gift.
See the free pattern below or purchase a printer-friendly ad-free pattern on Etsy or Ravelry.
Yarn
I used Redheart Super Saver 100% Acrylic 5 oz (141 g), 260 yds (238 m), a worsted weight yarn in Aran Fleck.
The yarn was easy to work with and I love the final product. The headband is warm, soft, and cozy.
You can use any worsted weight (4) yarn but remember, this yarn is on the thicker side of the worsted yarn and therefore I would make a swatch or measure on your head or whoever you are making for to make sure it fits well depending on which yarn you use.
If you can’t find Red Heart Super Saver yarn and want a comparable you can use
Skill Level
Easy
Materials
Red Heart Super Saver 100% Acrylic 5 oz/141 g, 260 yds/238 m in Aran Fleck
Worsted Weight (4)
Hook size- 4.5 mm (US 7)
Scissors
Tapestry Needle
Tape Measure
2 buttons 1” each
Yarn Amount
18 in – 92 yds (84 m)
20 in – 99 yds (91 m)
21 in – 103 yds (94 m)
22 in – 111 yds (101 m)
Gauge
10 rows (5dc+5sc) x 16 sts = 4” x 4” (10cm x 10 cm)
Finished Measurements
18 in x 4.5 in
20 in x 4.5 in
21 in x 4.5 in
22 in x 4.5 in
Get the free pattern below or purchase the ad-free PDF version of this pattern on Etsy and Ravelry. The PDF is designed for printing and this way you can support me! And don’t forget to PIN IT to your Pinterest board.
Abbreviations
Ch-chain
St(s)- stitch(es)
Sc-single crochet
Dc-double crochet
Puff -puff stitch
Special Abbreviations
Puff: Yarn over and insert your hook into the first sc, yarn over again and pull up a long loop (same length as making a dc st). (Yarn over and insert your hook into the same stitch. Yarn over again and pull up a long loop) three more times. Yarn over and pull through all 9 loops on your hook.
Notes
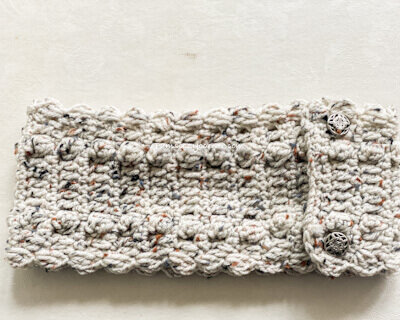
This Ear warmer is very easy and fast to make. It starts with chains and made to the desired length. The border is then added on both sides of the length. Lastly, the buttons are sewn one end of the ear warmer
Pattern Instructions
Ch 16
Row 1: Sc in 2nd ch from hook and every ch to end, turn (15 sts)
Row 2: ch 1, (does not count as a stitch) Sc in 1st st and every st to end, turn
Row 3: ch 3 (counts as a dc) dc in 2nd st, ch 1, sk 1, puff st in next st, ch 1 sk 1, dc in 5 sts, ch 1 sk 1, puff st in next st, ch 1 sk 1, dc in last 2 sts
Row 4: ch 1 (does not count a st) sc in each st to end
Rows 5-46, 50, 52, 54: Rep rows 3-4
Row 47, 51, 53, 54: Rep row 4. Do not fasten off and do not turn.
Make the ear warmer up to row 53 or desired length ending with row 4.
Edging (only on the long side)
Starting where you left off on row 53 ch 1, 2 sc in the last st of row 53, *ch 3, (counts as a dc) 2 dc in the last sc, sk the dc row, sc in the sc row across, rep from * to end of long side, 3 sc in the 1st st of short side, sc in each st on the short side, 3 sc in last st of short side,
Rep from * above to end.
Fasten off, weave in the ends.
With the right side facing, sew the buttons on one end.

